Introduction to Salesforce Flow
Creating a flow—such as automatically changing the value of a field to a value you specify based on certain criteria, as we do here—is another way to prevent data from getting messy. Depending on the type of field, you can apply a specific value, make the value blank, or calculate a value, all based on a criteria you set. Use automation to improve data quality by reducing manual data entry and keeping data in sync.
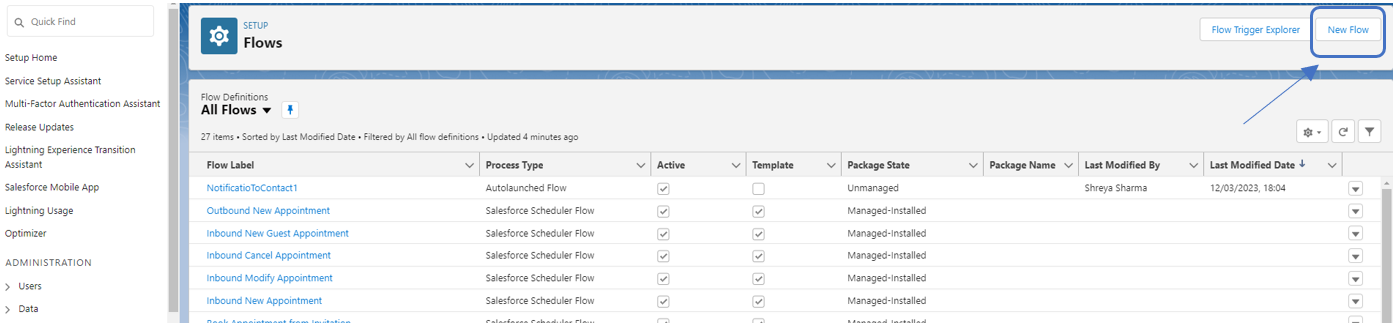
Step 1: Go to setup, search for flow, and create a new schedule triggered flow.

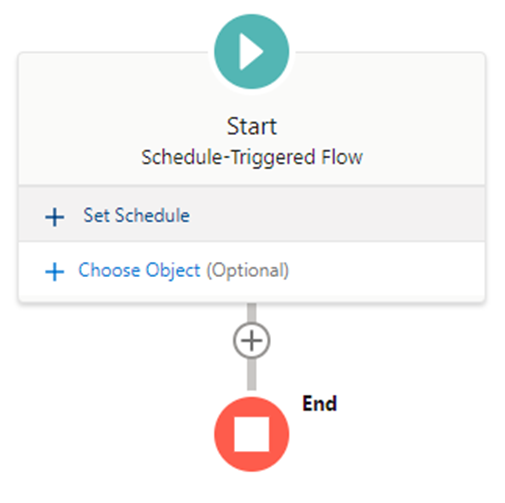
Step 2: Enter the start date, start time and frequency as below

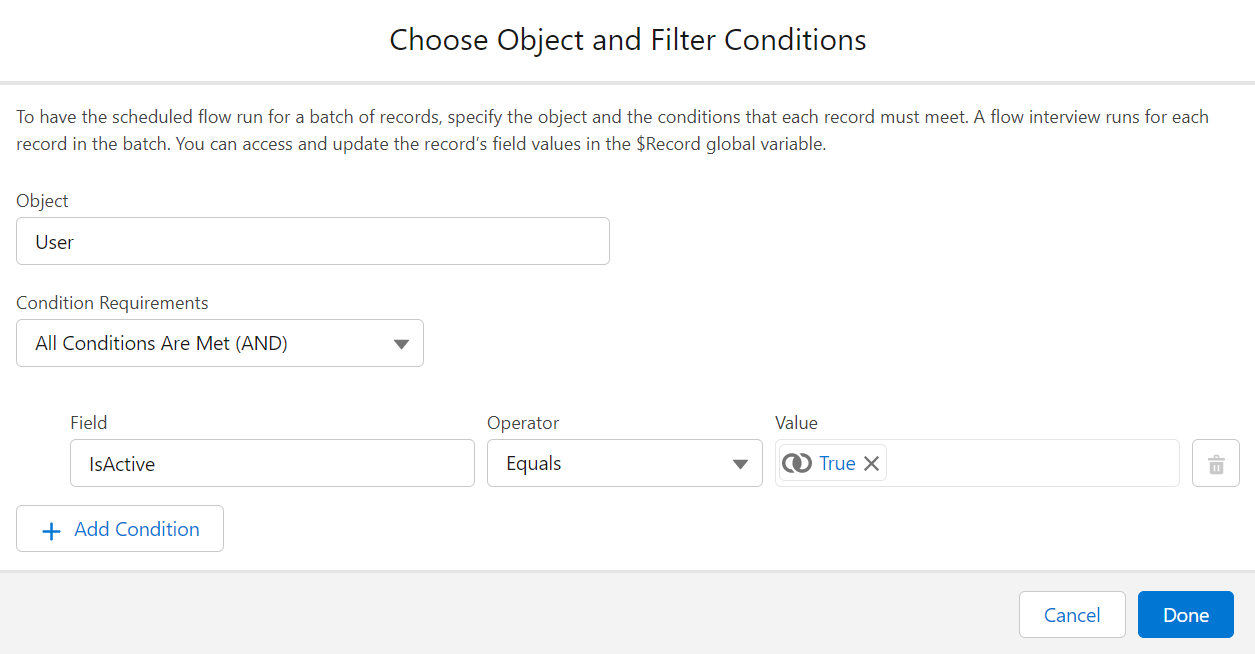
Step 3: To have the scheduled flow run for a batch of records, specify the object and the conditions that each record must meet. Provide Object details and Conditions.
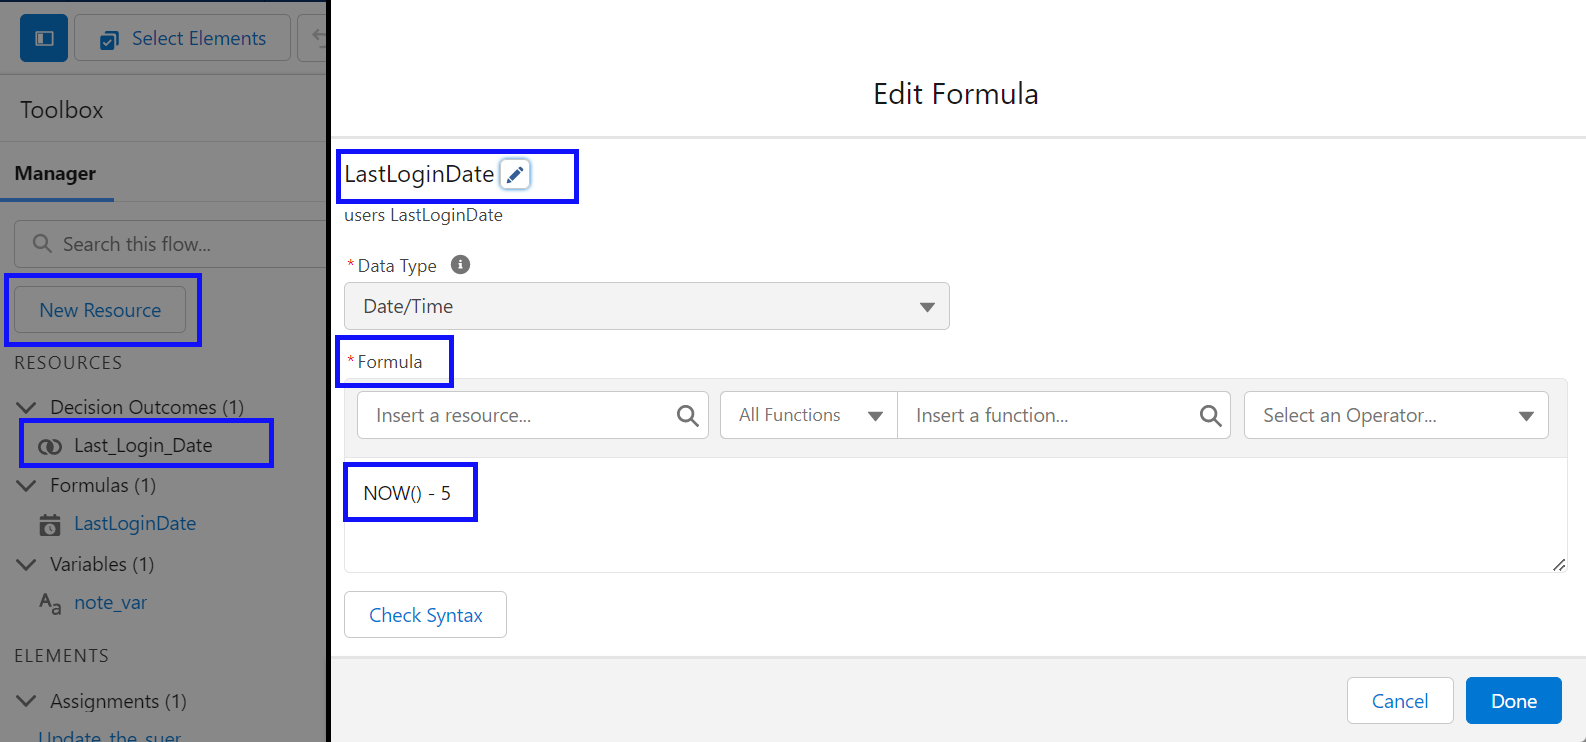
Step 4: Define the Resource from Toolbox. Ceate the Formula based on Last Login Date. See the below screen. In general business practise people do use 60 or 90 days check. But in this example i have used 5 days.
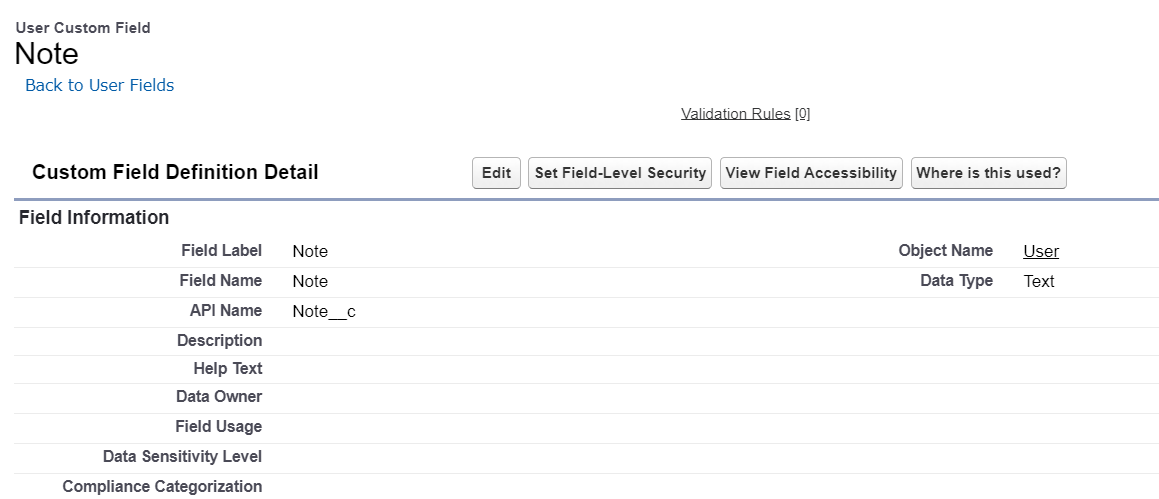
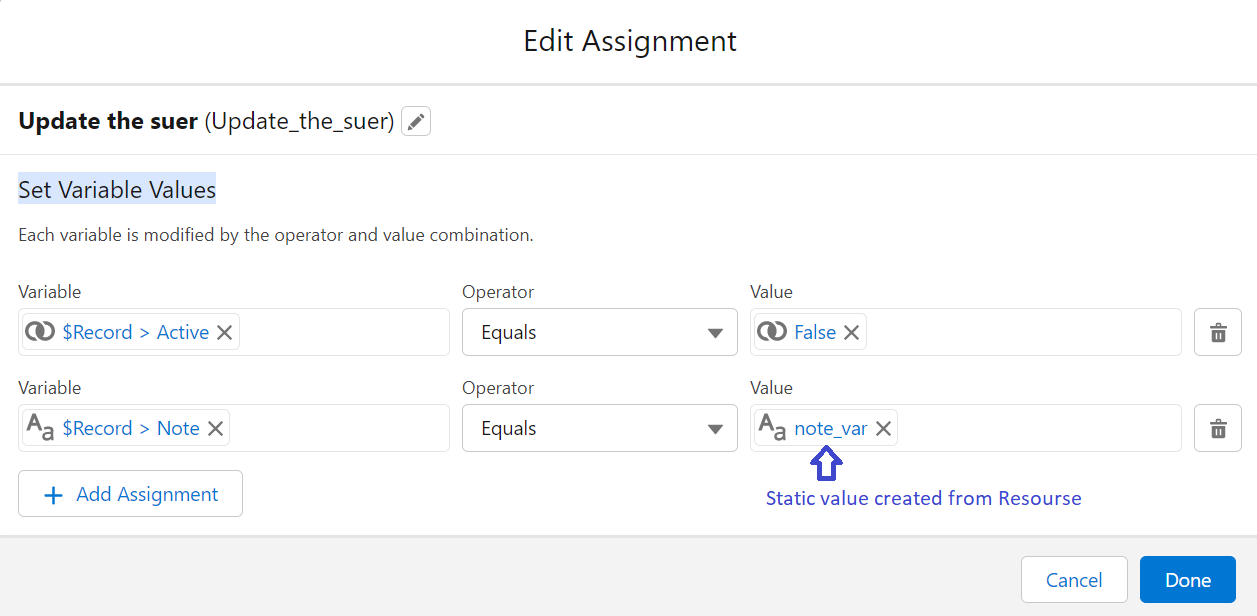
Step 5: Creae new Field on User Objects called “Note”. This field can be use to track the static text value va flow. e.g. In this scenario the default value is “User was not logged for last 5 days”. See the next step on how to create default value.
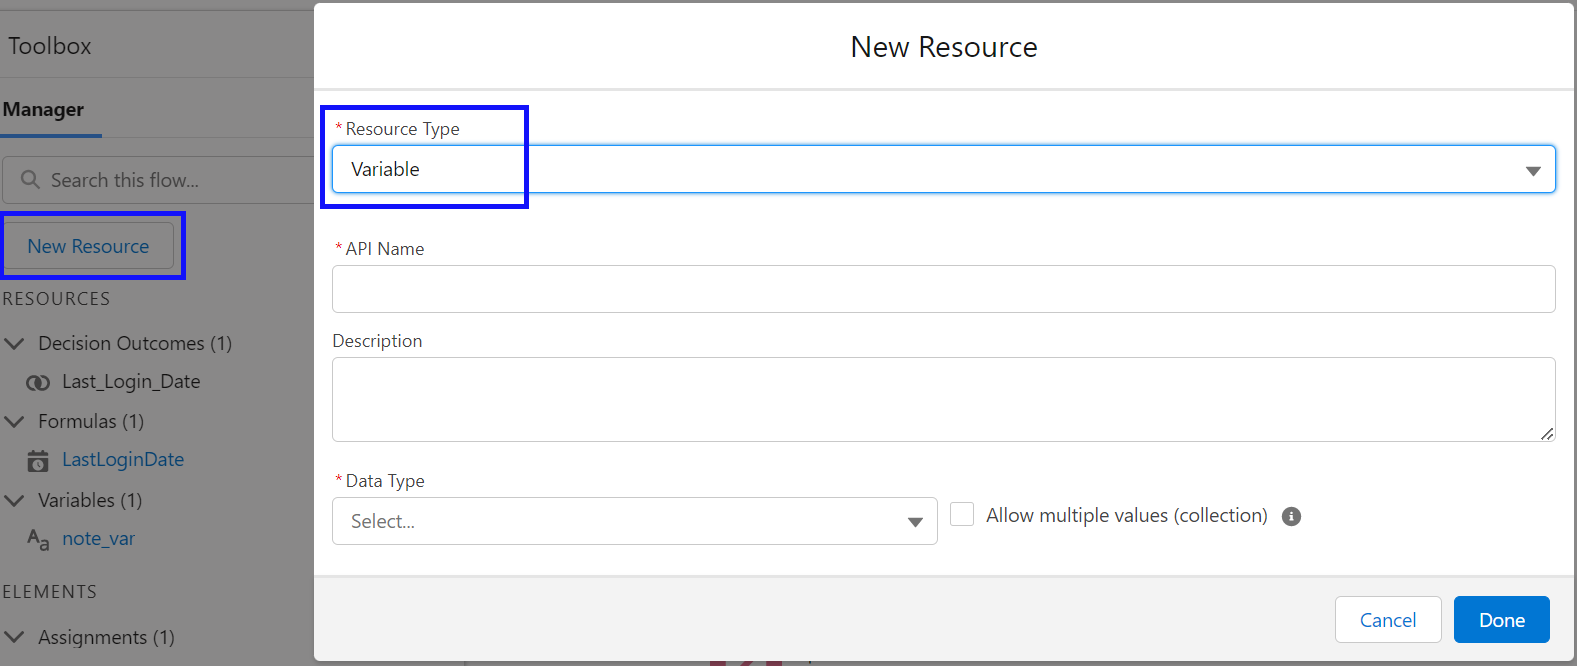
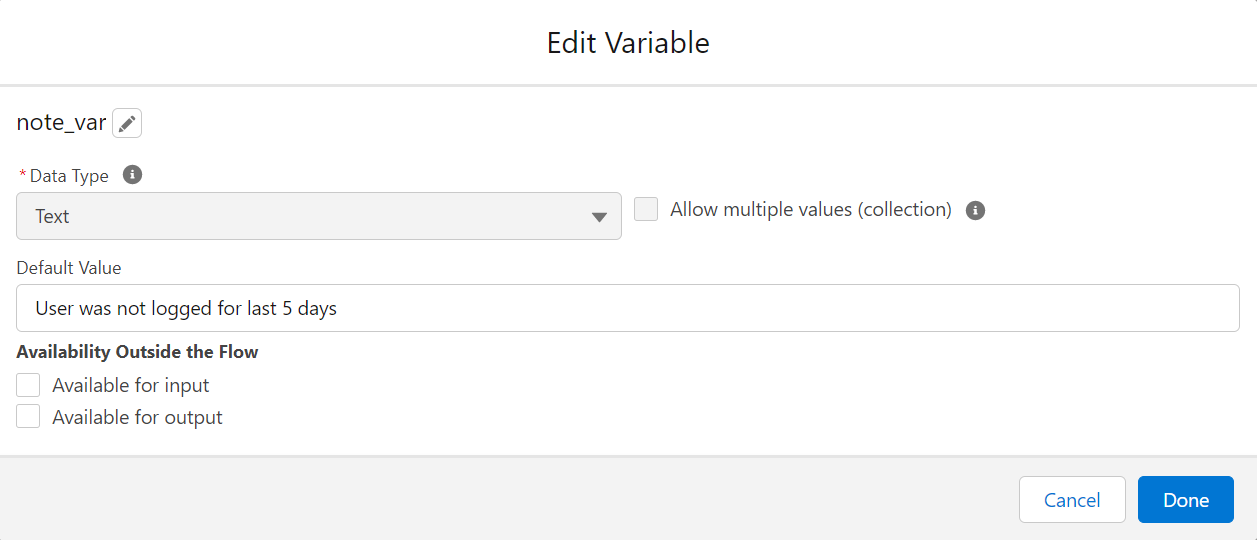
Step 6: In order to create default value from Step 5, Click on New Resource > Resource Type > Select Variable. Then follow the below screen capture. HIT DONE
** Its a Decision Time **
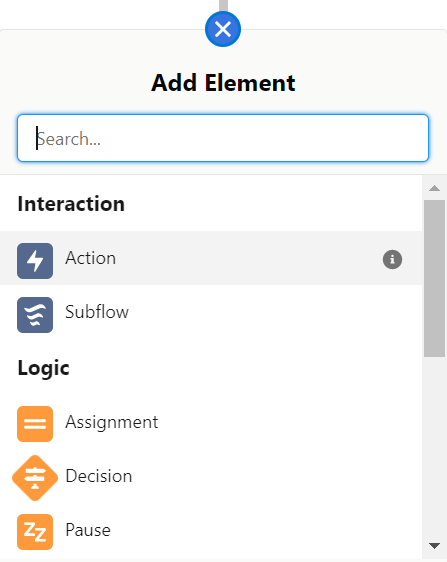
Step 7: Its time to decide a logic with decision. Add Element > Click ‘+ button’ to create a Decision

Step 8: Add Element > Click ‘+ button’ to create a Assinment, and Set Variable Values. To execute the command “Update the user”,
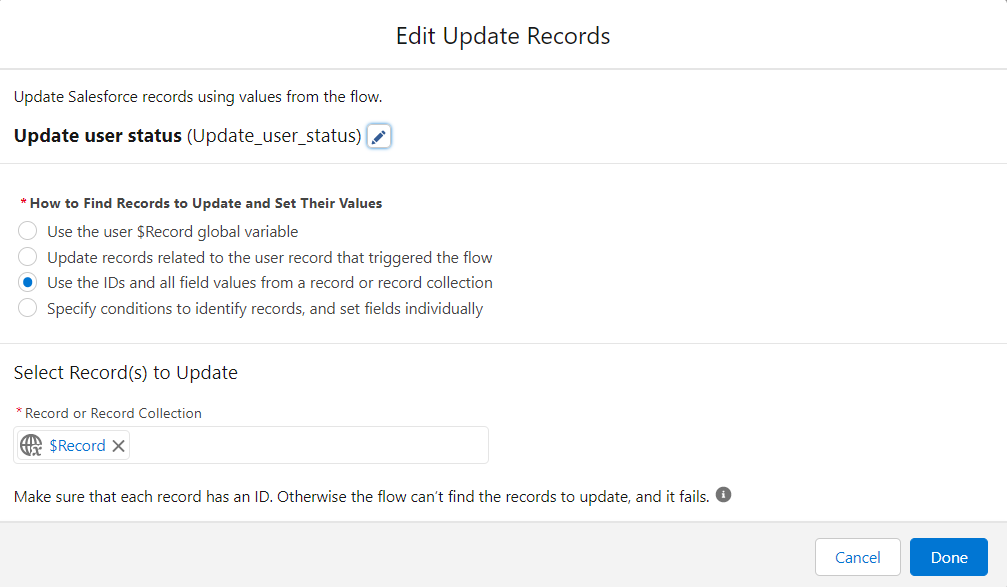
Step 9: Add Element > Click ‘+ button’ to create a Update Records, and To execute the command “Update the user status”,
End
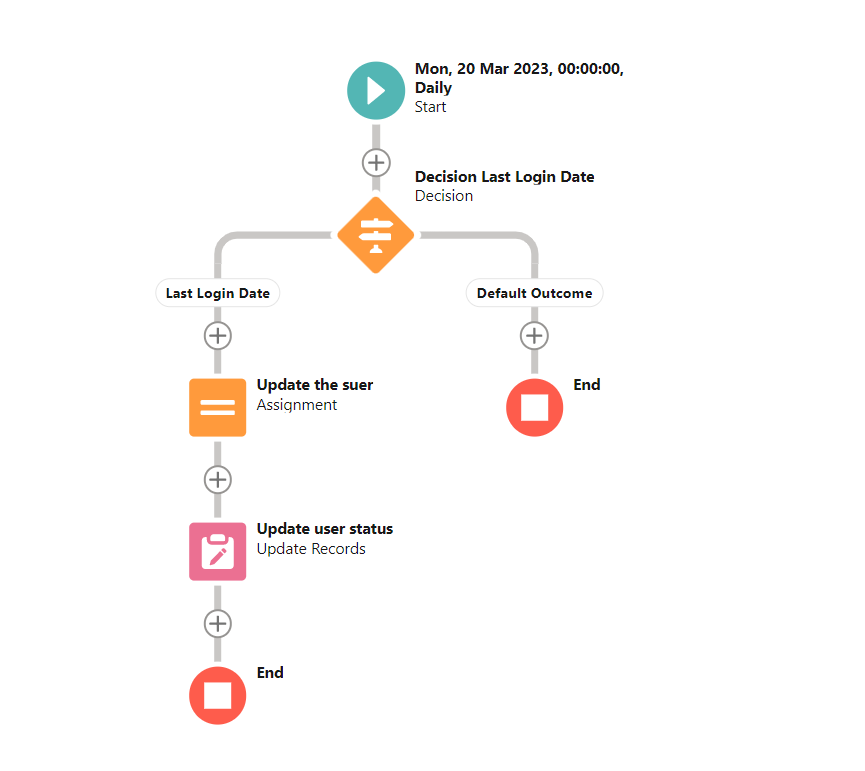
Complete Flow: